This is one of the basic feature used in SolidWorks for part modeling. The purpose of this tool is to remove material from an existing solid object in the shape of the profile / sketch selected. We show how to use this tools in this tutorial.
Level: Beginners
The extrude cut button in the features tab will be activated only if you have at least one object.
Video instructions on how to do an extruded cut in solidworks.
Instructions on how to do an extruded cut
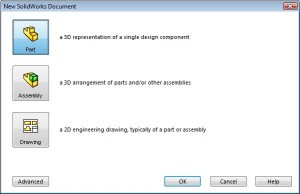
| 1) Open Solidworks and click on new and then click on part and click ok as shown.
|
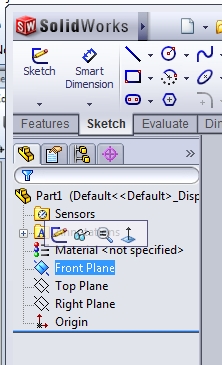
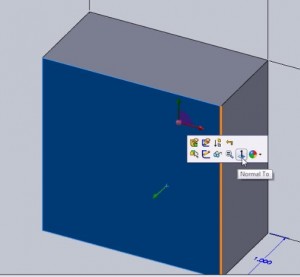
| 2) Then click on front plane and you will see a small menu appearing near your mouse. Click on normal to button
|
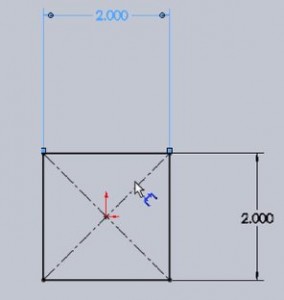
| 3) Create a square of size 2 with origin as center as shown in figure
and exit sketch by clicking exit sketch button |
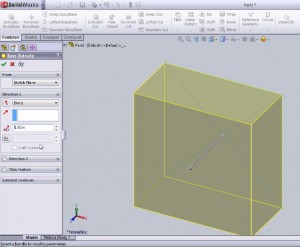
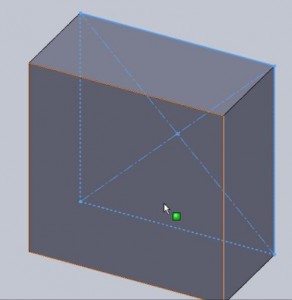
| 4) Click on Extrude Boss/Base in features tab and enter 1inch as extrude length as shown
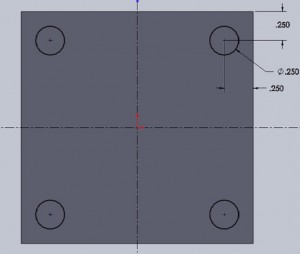
Click on the green check mark to exit the tool. You will see the cuboid like this Now click on the front face and click the normal to button |
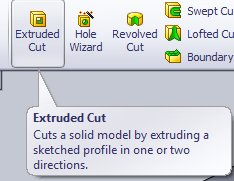
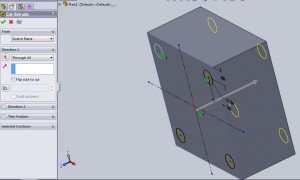
| 5) Now go to features tab and click on extruded cut and select the recently sketched holes as profile
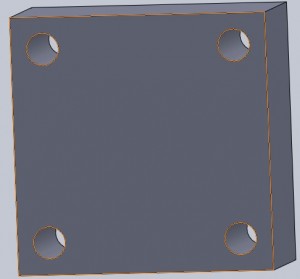
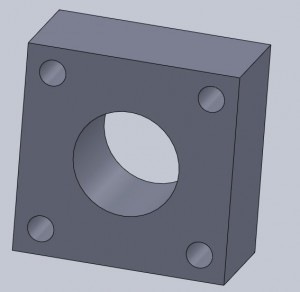
You will see the holes / material removed as shown in figure. In direction 1 select through all in direction button and click the green tick Now create another circular hole of 1inch in diameter at the center of the cube as shown in previous steps and you will end up with the final part as |

Pingback: Solidworks tutorial alloy wheel | SolidWorks Tutorials
Pingback: SolidWorks CSWA Tutorial 1: Preparing for the Exam | SolidWorks Tutorials
Pingback: Circular Pattern in SolidWorks | SolidWorks Tutorials
Pingback: Linear Pattern – Solidworks Tutorial | SolidWorks Tutorials
Pingback: Draw a Hex Nut in SolidWorks | SolidWorks Tutorials
Pingback: Mirror Entities in Solidworks | SolidWorks Tutorials
Pingback: Shell Features SolidWorks | SolidWorks Tutorials