Click on the front face and start a sketch. Convert entities shown in figure to current sketch and click OK.
Offset the circular by using offset entities button. Click on  and select the circular arc and set the offset to 5mm. Make sure that you have unchecked the select chain option.
Click on trim entities button  and select trim type type as
 ![]() and select the lines as shown in figure
and select the lines as shown in figure
Change the trim type to ![]() (trim to closet) and remove the dangling links. The resultant sketch will be like
(trim to closet) and remove the dangling links. The resultant sketch will be like
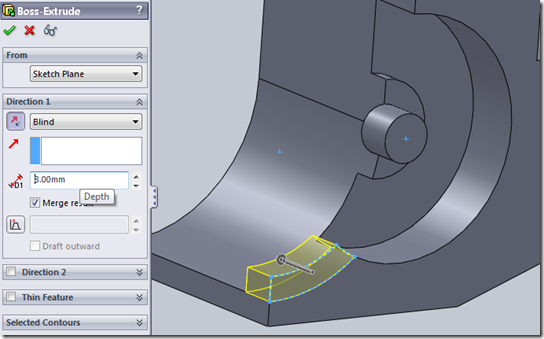
Exit the sketch and extrude the current sketch into the part to a depth of 8mm and click ok. Click on this button ![]() to reverse direction or to extrude the sketch into the part if it is going in wrong direction.
to reverse direction or to extrude the sketch into the part if it is going in wrong direction.
Create a new sketch as shown in the figure on the front face.
Remove the material from the part using extruded cut feature. Set cut depth to
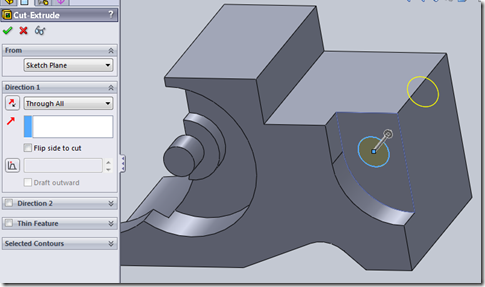
Draw a circle of 10mm in diameter and 10mm way from the back edge and 35mm above the bottom.
Use this sketch to make a hole through the part (extruded cut feature).


This is a good complex part examples. Show me other more complex parts
Problem? Missing dimension, R30? Where did that come from.